 |
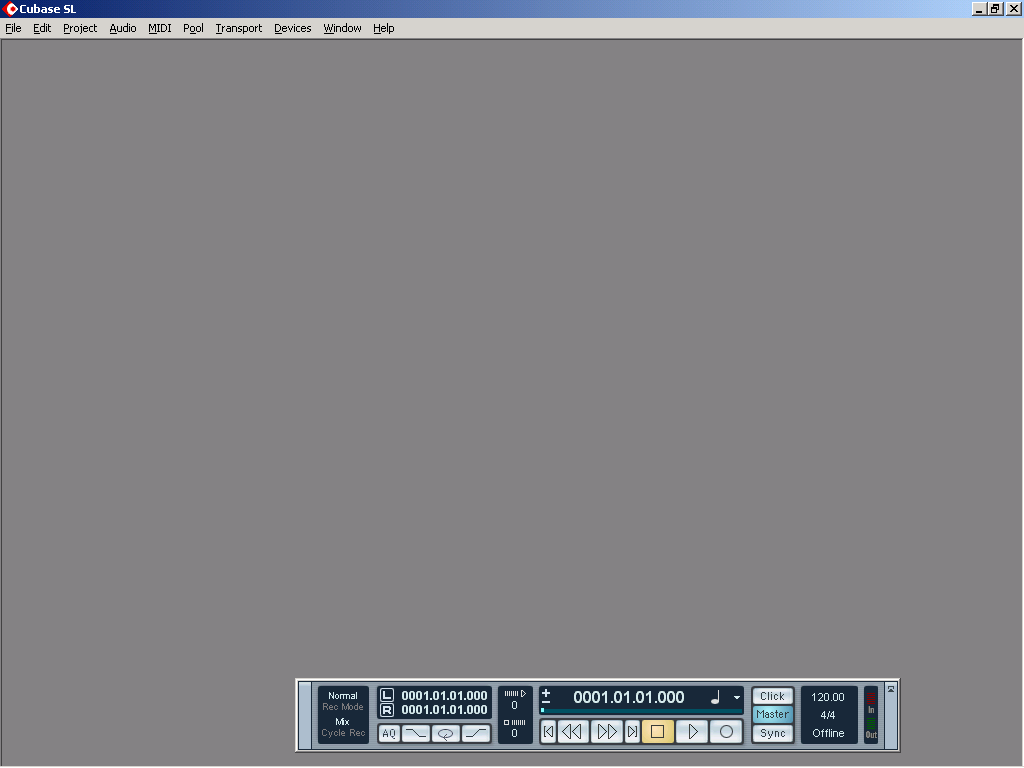
Upon launching Cubase you will be brought to the this screen We will want to begin by taking care of basic settings and creating a project that has no tracks that will serve as a template for future projects and will keep us from having to make several basic setting every time we create a new project. |
|
|
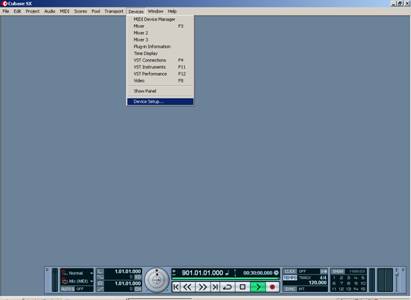
The setting we need to make can all be found through the “Devices” menu Let’s start by selecting the “Device Setup” from the Devices main menu. |
 |
|
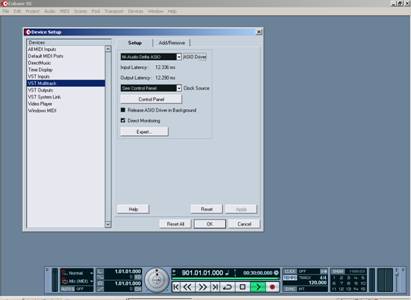 |
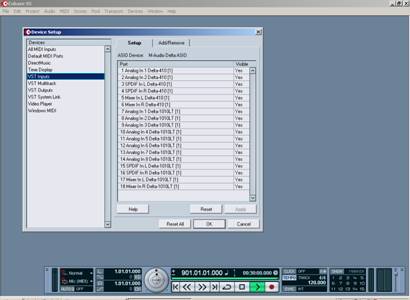
Now we need to set the audio drive. This is done in the VST Multitrack menu. To show this menu left click the VST Multitrack line. Assuming that you are using M-Audio Delta sound cards (Delta 1010-lt or Delta 410) you will want to ensure that the ASIO Driver is set to “M-Audio Delta ASIO”. This will allow Cubase to use up to four Delta sound cards. |
|
|
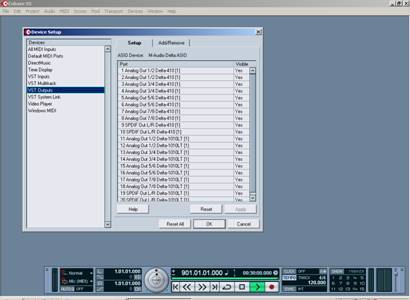
Next we will need to make sure that we can see the audio outputs of the soundcards. To do this left click the VST Output line. In the right pane you will want to ensure that all the outputs have a yes in the “visible” column. |
 |
|
 |
We will now want to go to VST Inputs and turn off the audio inputs unless you plan on doing some audio recording. This will save system resources. | |
|
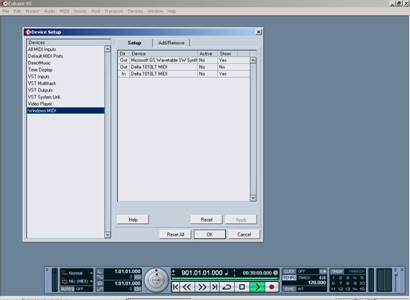
Next we need to make sure that your Midi ports are visible. So go to “Windows MIDI” and check to see if your midi ports are shown. Using your mouse left click the ok button to make your setting take effect |
 |
|
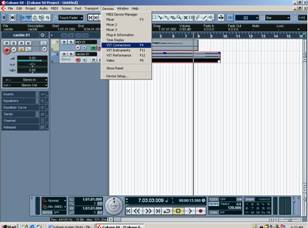 |
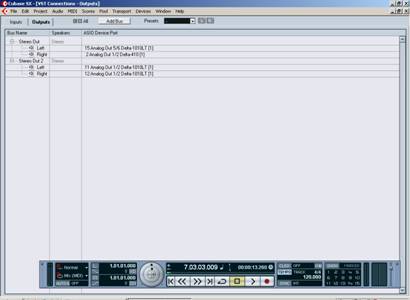
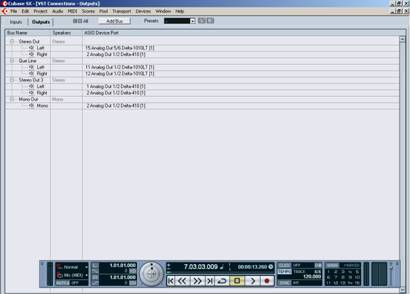
Now we need to add Audio bus to use with audio tracks. Start by going to the “Devices” menu and selecting “VST Connections” or press the “F4” key. This will bring up the window shown below. |
|
|
Audio Bus’ are how Cubase manages its audio connections to your sound cards and the real world. Bus’ can be either Stereo, Mono, or Surround (5 or 5.1). With a Stereo Bus you will assign two mono outputs of the Delta sound card (one for the left channel and one for the right) To add a Bus, position your mouse pointer over the “Add Bus” button and click the left mouse button. The Add Bus menu will pop up and ask you to select the type of Bus (Mono, Stereo, 5.1, etc) you would like to add. |
 |
|
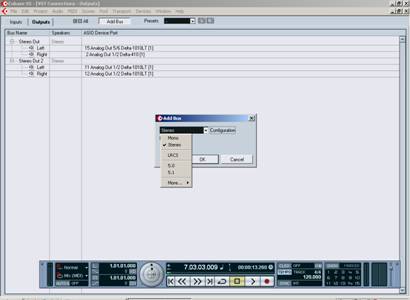 |
After choosing the type of Bus you are adding, click the “OK” button using your mouse. | |
|
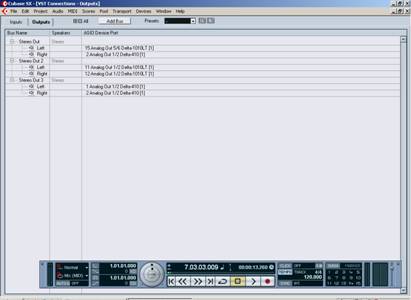
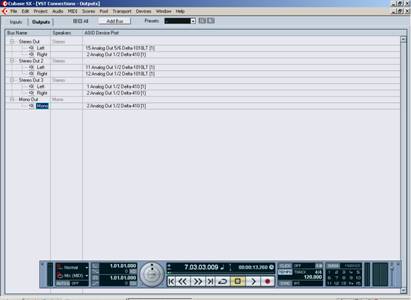
For this example I have selected to add a stereo Bus. You can see from the image to the left that Stereo Bus 3 has been added. The prior state of the Bus’ can be seen in the image above. Using the same procedure I have now added a mono Bus that can be seen below. |
 |
|
 |
||
| By moving your mouse pointer over the Bus name (Stereo Out 2 for example) and double clicking your left mouse button you will select the Bus’ name. Once selected you will get a curser and you can change the name of the Bus to something more meaningful. An example would be naming the bus that goes to the amp and speakers that pipe sound to the que line of your haunt to be “Que Line”. By doing this it will be easier in later stages when you are adding audio tracks to your project and assigning the bus the track will output through. The renamed Bus can be seen in the next image. | 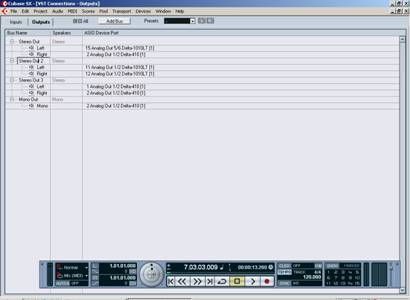 |
|
 |
||
|
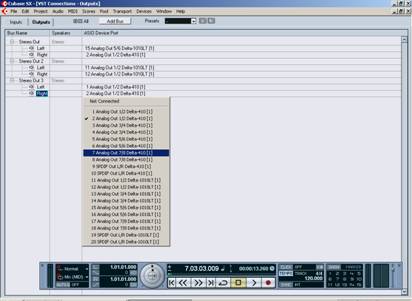
The last step of adding an audio Bus is to assign which output of your sound card the Bus is connected to. This is done by right clicking the name of the “ASIO Device Port” for the channel of the bus you are adding, and selecting from the pop-up list the port that you would like to connect. If you add a second, third or fourth delta audio card after you have created a project or the template we are currently working on, make sure you come back to the VST Connections area and add Bus’ for the new card and check to see that you’re old assignments have not changed. When you are done adding audio Bus’ close the window and return to the main start screen of Cubase. |
 |
|
| Congratulations you have just completed the basic configuration of Cubase and are now ready to create a project, or in our case a template to be used for creating future projects | ||